Table of contents
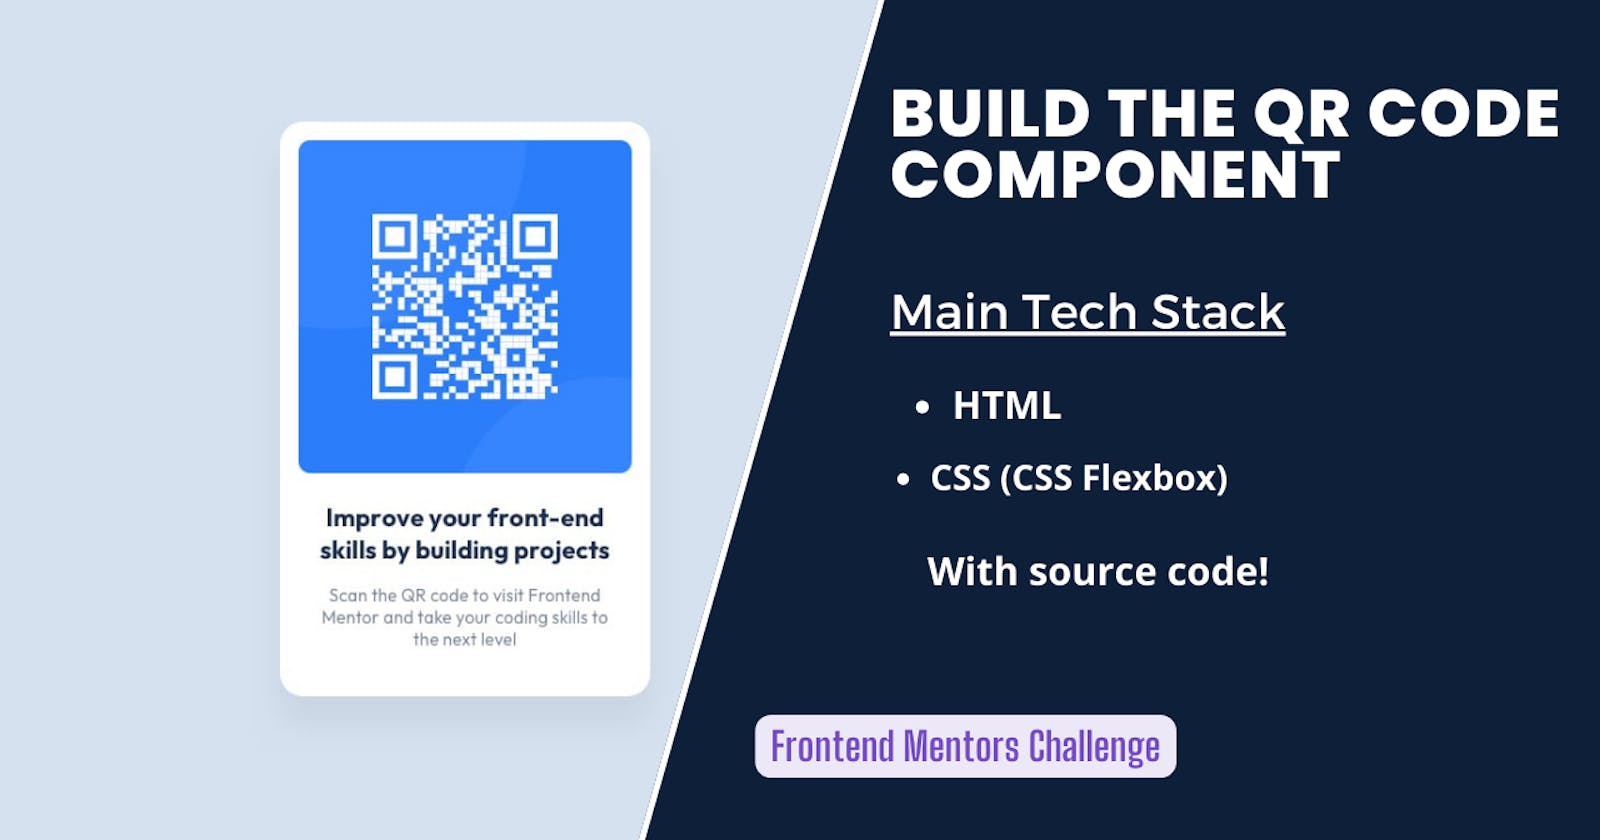
Hey, guys welcome to this step-by-step tutorial on how to build a preview card component. Without wasting time let's jump right into it. To get started download these starter files. Make sure you signup/signin to frontend mentor if necessary.
In case you want a video tutorial: Check out mine
Getting Started with the HTML(study it carefully)
<!DOCTYPE html>
<html lang="en">
<head>
   <meta charset="UTF-8">
  <meta name="viewport" content="width=device-width, initial-scale=1.0"> <!-- displays site properly based on user's device -->

  <link rel="icon" type="image/png" sizes="32x32" href="./images/favicon-32x32.png">

  <title>Frontend Mentor | QR code component</title>

<link rel="stylesheet" href="./style.css">
</head>
<body>
  <div class="container"> <!---Always good to have coontainer, it will
help us center it!
!--->

      <div class="card">
          <div class="card-img">
            <img src="./images/image-qr-code.png" alt="">
          </div>

          <div class="card-content">
            <div class="card-title">

         <h3> Improve your front-end <br/> skills by building projects</h3>

            </div>
            <div class="card-body">
     <p>
      Scan the QR code to visit Frontend Mentor and take your coding skills                               to the next level
     </p>
            </div>
          </div>
      </div>

  </div>


<!--- Attribution not required!--->
</body>
</html>
/* From style Guide and it's for the font */
@import url("https://fonts.googleapis.com/css2family=Outfit:wght@400;700&display=swap");
/* It centers the card in the dead center */
.container {
  display: flex;
  justify-content: center;
  align-items: center;
  min-height: 100vh;
}
/* Some basic card styles */
.card {
  width: 300px;
  background: white;
  padding: 15px;
  border-radius: 20px;
}
/*Helps us control the image*/
.card-img img {
  height: 300px;
  border-radius: 20px;
}
/* Applying a bacckground and font */
body {
  background-color: hsl(212, 45%, 89%);
  font-family: "Outfit", sans-serif;
}
.card-content {
  text-align: center;
  padding: 10px;
}

.card-body {
  color: hsl(220, 15%, 55%);
}
h3 {
  font-size: 22px;
}

